3DiscClinic™ Case Review Tools

With a comprehensive set of digital tools and the integration of Fly AI, 3DISC guides the dentist through an optimal impression-taking process, guaranteeing patient comfort and precision restorations, from simple restorations to the most severe cases
The Case Review Inspection Page
Case Review Tools are available in the Inspection Page:

3DiscClinic™ Case Review Page
To access the Inspection Page:
-
1. Click on the 3D Models tab.
.svg)
-
2. Click to expand the 3D Models tab full-screen.
This opens the Inspection Page:

3DiscClinic™ Case Review - Inspection Page
Case Review Tools

Using the Margin Line Tool

The Margin Line Tool enables you to trace margin lines on 3D models, in order to ensure the accuracy of restorations ordered from the lab.
To trace a Margin Line, in the Finalization Page:
- 1. Click to expand the 3D Models tab to full-screen.
-
2. Click on the Margin Line icon in the right-hand Case Review Tools menu.

-
This opens the Margin Line Tool: Step 1 - Select Tooth

-
3. Click on the maxillary or mandibular icon to display the arch.
-
4.Click to select a tooth for which a restoration has been added.
-
5. Click NEXT
- This opens the Margin Line Tool: Step 2 - Highlight Tooth

-
6. Click-left on the tooth to select a region.
-
7. Click again (up to 5 times) to expand the selected region.
-
8. Click NEXT
-
This opens the Margin Line Tool: Step 3 - Draw Margin Line

- 8. Draw a Margin Line as follows:
- To start margin line: Click-left then trace line
- To reposition 3D Model while drawing: Click-left + drag
- To insert a new control point: Click-left on line
-
To complete the margin line: Double-Click-left
-
9. Click SAVE
-
10. Click X to exit the Margin Line tool.
-
11. Click X again to exit the Inspection Page.

The Margin Line can be viewed in the 3D Models tab of the Case Review page.

Modifying a Margin Line
3DiscClinic™ Model Studio

Using the Model Closing Tool
The 3DiscClinic™ Model Studio enables you to prepare 3D models for printing.
To access the Model Studio Model Closing tool, in the Finalization Page:
- 1. Click to expand the 3D Models tab to full-screen.
-
2. Click on the Model Studio icon in the right-hand Case Review Tools menu.
-
This will open the Model Studio and invite you to prepare the digital 3D model for printing (also referred to as closing the model).
To Finalize the 3D Model:
- Select Jaws for model occlusion.

-
Adjust vertical and horizontal planes by clicking on the positioning icons in the left-hand menu.
(New in version 4.2)

- Click NEXT

- Adjust the position of the clipping planes to the desired position.
- Select Base Model or Filled Model mode.
- Edit Model label as necessary.
- Click the button: Finalize Printed Model

The closed 3D Model is displayed, and you are invited to EXPORT the model files.
- Click Export
- Select or create an export folder, and Click OK.

-
The closed model files are exported in the Case File Format configured in the Case Review page.
-
Click X to exit the Model Studio page.
For more information, visit: Case Review Options
The Model Closing tool does not automatically save the Closed Model to the case files: you must Export and Save the Closed Model to a local folder.
The Model Closing tool does not enable you to change the angle of the clipping plane.
If the digital model requires trimming, use the Trim tool.
For more information, go to: Using the Trim Tool
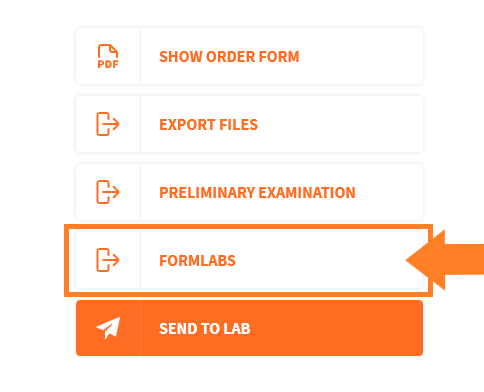
Integrating Formlabs Preform with 3DiscClinic™ Model Studio
You can export directly from 3DiscClinic™ Model Studio to Formlabs Preform by integrating the Formlabs software
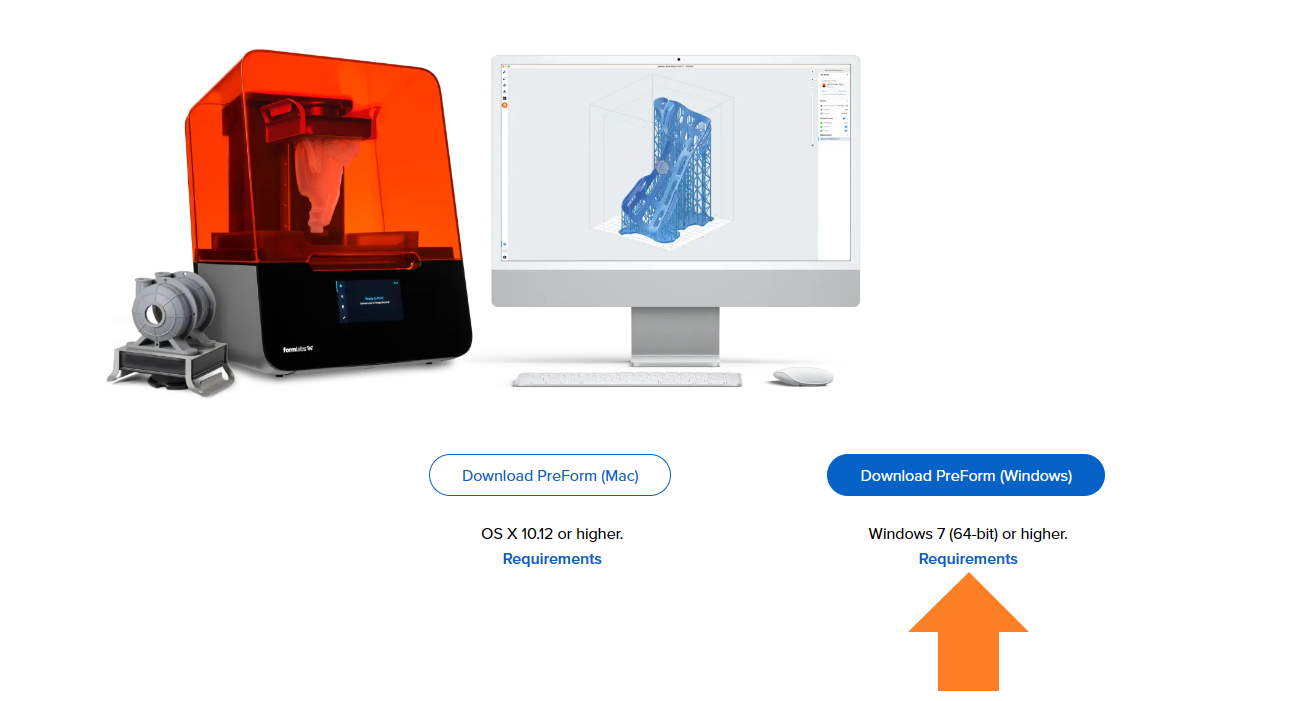
- 1. Download the Formlabs Preform software from the Formlabs site at: https://formlabs.com/software/preform/
1. Download ➧
➧ Download the Formlabs Preform software
2. Launch ➧
➧ Launch executable file to install
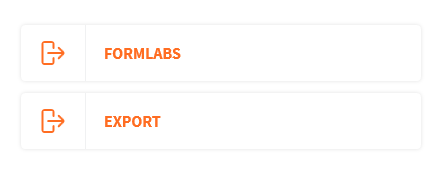
3. Display in 3DiscClinic
➧ Displays in Review page
-
➧ Displays automatically in Model Studio
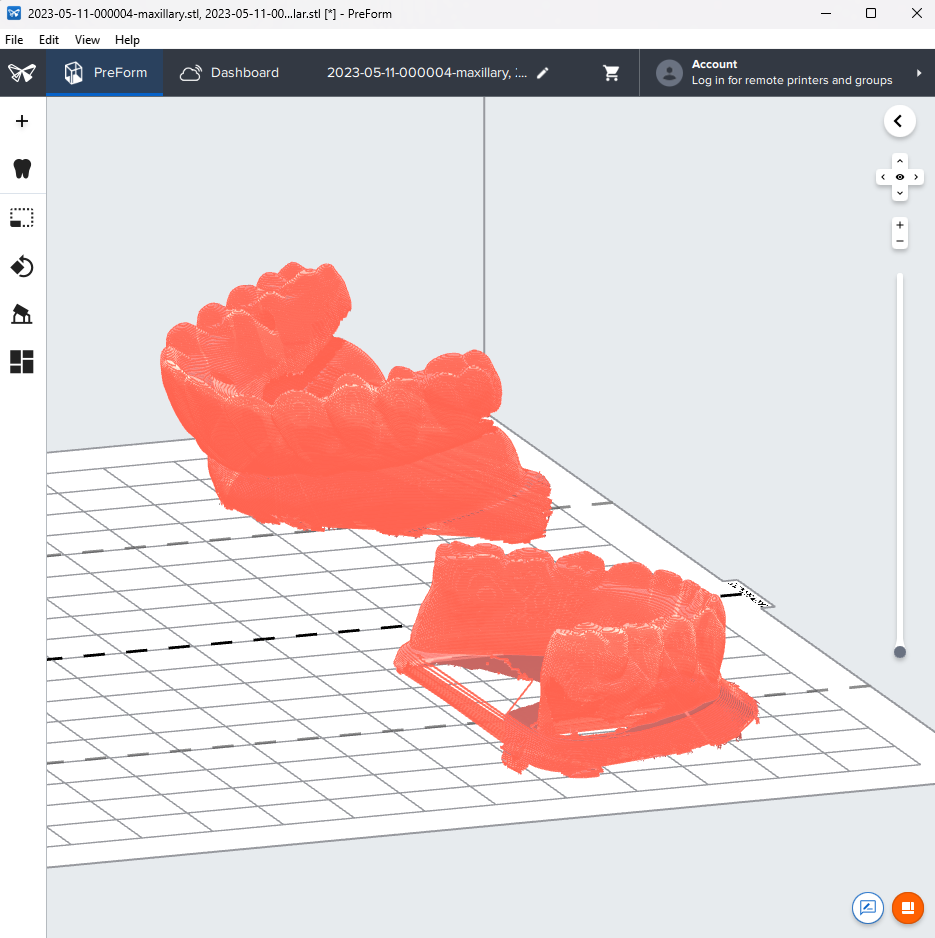
4. View in Formlabs Preform software
➧ Login to your Formlabs account
Using the Cross Section tool

To draw a Cross Section line:
- 1. In the Review Page, click to expand the 3D Models tab to full-screen.
This opens the Inspection Page:

3DiscClinic™ Case Review - Inspection Page
- 2. Click on the Cross Section icon in the left-hand Clinical Tools menu.
This opens the Cross Section tool:

- 3. Click on the Cross Section Line icon in the left-hand menu.

- 4. Click and drag to start drawing the Cross Section line. Release to finish.
The Cross Section plane is displayed as shown.

-
5. Click and drag on the green arrows to modify the position of the plane.
-
You can also click to expand the Cross Section graph view.
-
6. Click on the Cut icon to reveal the cross section view.

- Click again to show from the other side.

- 7. Click on the Hide icon to hide the cross section plane.

You can carry out measurements and take snapshots as required.
Snapshots can be consulted in the 2D IMAGES tab of the Case Review page.
Reviewing 2D images
You can consult 2D images taken during the scan by clicking on the 2D IMAGES tab in the Case Review page:
- 1. Click on the 2D Images tab.
- 2. Click on a thumbnail image to preview the selected 2D image.


- 3. Click on the expand icon to view 2D images in fullscreen mode.

- 4. Delete unwanted images by selecting and clicking on the delete icon.
- 5. Click OK to Confirm.
- 6. Click the top-right corner to leave fullscreen view.

NEXT STEP: Finalizing & Sending your Order
When you have finished editing the Case files, you are ready to:
- 1. Complete Case Review Options
- 2. Send the Order to a Lab, or
- Export Case Files for integration in a third party system.
- For information on completing Case Review Options, go to:
- For information on Sending your Order to a Lab, go to: