Using the Image Acquisition tool (OVO™ IOS)
As part of the Scan&Tell™ Communication Hub, the 3DISC OVO™ IOS enables you to directly take intraoral videos and photos using the scanner and to manage them in 3DiscClinic™ and via iPad® or Android tablet.
Accessing the Image Acquisition tool

To access the Image Acquisition tool:

- Select a case in the Case Preview page.
- Click on the Photo icon in the Case Preview page.
- This opens the Image Acquisition page.


Image Acquisition features
The following features are available in the Image Acquisition page:
- 1. 3D model
- 2. Image gallery (photo & video)
- 3. Image gallery menu
- 4. Photo | Video toggle switch
- 5. Start Photo | Video
- 6. Start | Stop Scanner
Taking an intraoral photo


To take an intraoral photo using the OVO™ scanner:
- Select the Photo icon in the Photo | Video toggle switch.
- Start the scanner using the Start | Stop button on the handpiece, or by clicking on the Start | Stop icon.
-
Click on the Photo icon.
-
Stop the scanner by clicking again on the Start | Stop button on the handpiece, or by clicking on the Start | Stop icon.
Taking an intraoral video


To take an intraoral video using the OVO™ scanner:
- Select the Video icon in the Photo | Video toggle switch.
- Start the scanner using the Start | Stop button on the handpiece, or by clicking on the Start | Stop icon.
- Click on the Video icon to start the video.

- Click again on the Video icon to stop the video.
- Stop the scanner by clicking again on the Start | Stop button on the handpiece, or by clicking on the Start | Stop icon.
Editing an intraoral video
The video menu enables you to:
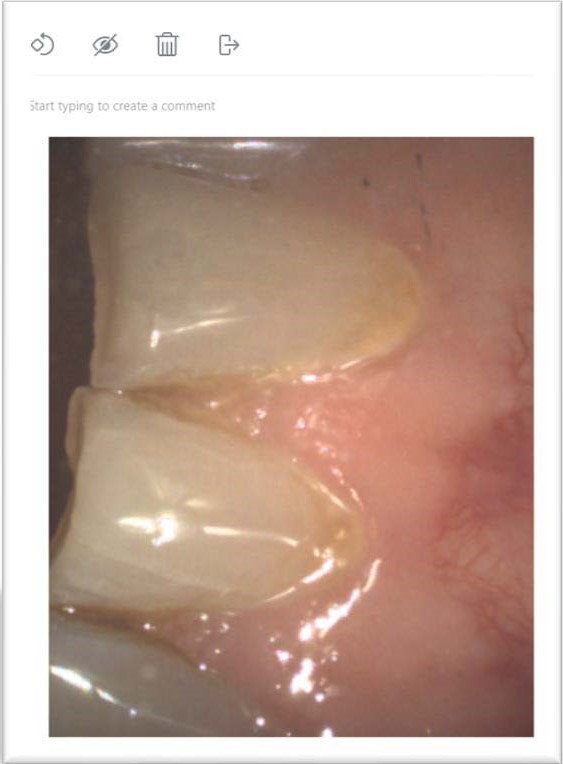
- Rotate the video
- Hide the video
- Delete the video
- Export the video
- Expand the viewpage
- Add a comment
Enabling the Camera Workflow Start Camera
It is possible to access the Image Acquisition tool directly via the Start page.
To enable the Camera workflow:
- Step 1. Click the Settings icon to access System Settings.
- Step 2. In the Settings Menu, select General.
- Step 3. In General Settings, select Enable Camera Workflow. (Note: this option is disabled by default).
The Start Camera button is displayed in the Start Screen.

Display all case images for a patient
To display images for all cases of the patient:
- In the Image Acquisition window, tick Display all case images

Importing images for a patient

To import patient images:
- Click on the + square in the Image gallery.
-
This opens the file import explorer.
-
Select the images for import and click Open
-
The imported files are displayed in the Image gallery.
Find Out More

© 3DISC 2025