-

3DiscClinic Model Studio
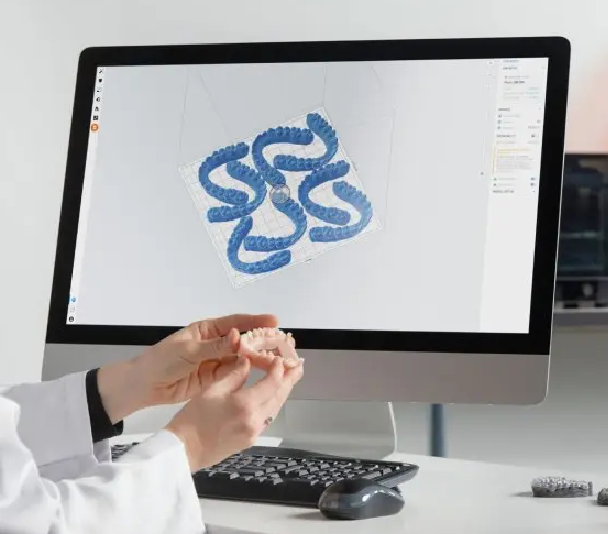
Prepare your 3D models for printing
1
Click to expand the 3D Models tab to full-screen.
This opens the Inspection Page.
2
Click on the Model Studio icon in the left-hand menu.
This will open the Model Studio and invite you to prepare the digital 3D model for printing.
3
To close the 3D Model: Adjust the position of the clipping planes to the desired position.
Select Base Model or Filled Model mode.
4
Edit Model label as necessary.
Click the button: FINALIZE PRINTED MODEL
The closed 3D Model is displayed, and you are invited to EXPORT the model files.
5
Click EXPORT. Select or create an export folder, and click OK. The closed model files are exported in the Case File Format configured in the Case Review page.
You can also integrate Formlabs Preform software for use with 3DiscClinic.
-
Online Help

For more information, go to:
Using the Model Studio
-
Model STUDIO
 3rd-party integration...
 FORMLABS Preform


